

Tenebris Somnia · Boss & enemy guide
Boss phases, arena rules, route-dependent final fights and practical counters for every named Tenebris Somnia creature.

Most major fights are environmental puzzles. Identify the invulnerable state, use the room mechanic, then spend ammunition only during a safe damage window. Save before each arena: several grabs, slams and hazards can end a run immediately.
Show horror image
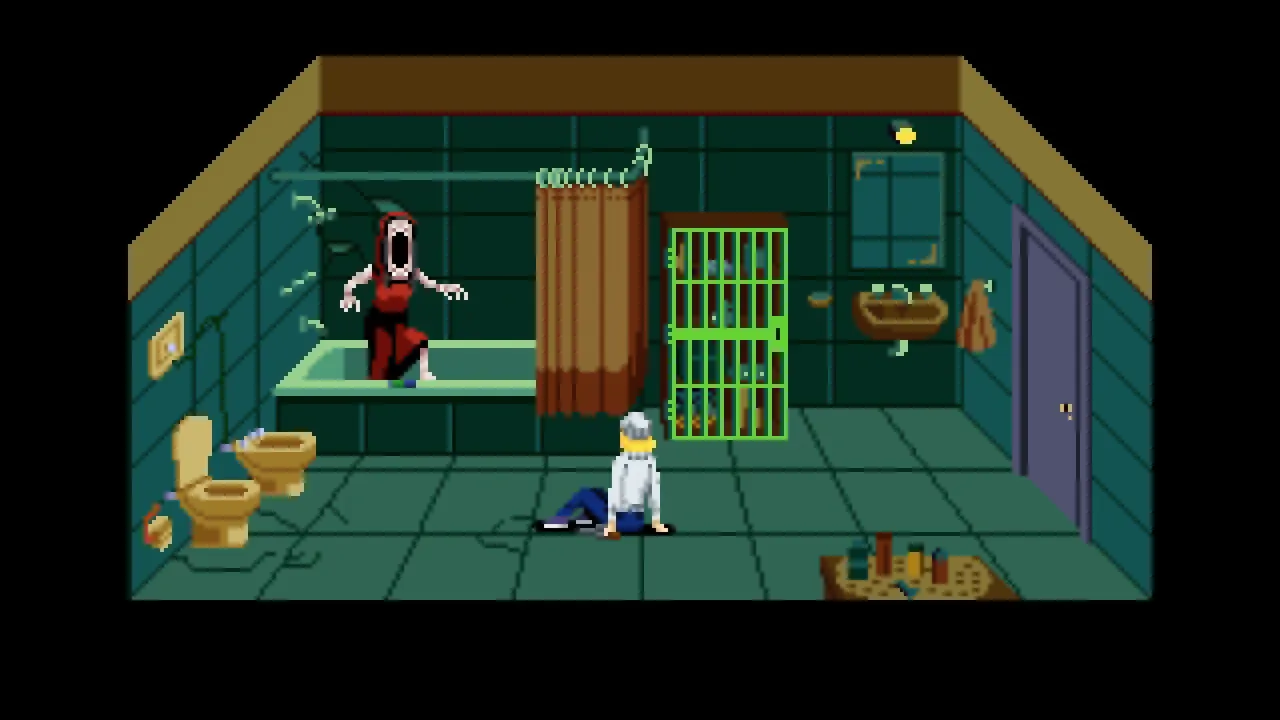
ObscuratusCandle room beyond the second-floor window
Phases and counters
- Pull the window lever with the Mop handle. When the room darkens, Obscuratus becomes invisible and the candles light up. Keep moving and extinguish every flame.
- After the last candle goes out, the creature becomes visible. Attack during this window, then back away from its short area burst before the candles relight. Repeat the cycle.
Achievement route: For Iron and wax, use only the wrench during the vulnerable windows. A normal clear is safer at range with the Revolver.
FumusCow-skull room above the first-floor stairwell
Phases and counters
- Open the room with the Cow skull. Fumus cannot be damaged while the red sigil surrounds it, so hold fire and keep enough space to sidestep its long-reaching swipe or slam.
- Red circles accumulate on the floor as the fight continues. Touching one makes Julia turn the revolver on herself. Bait a slam from range, leave its impact area, then attack during recovery while the red sigil is gone.
- Inspect the remains after the fight to collect the Pentacle stone.
Achievement route: For Exhaust Pipe, deal all damage with the Pipe. On a normal attempt, the Shotgun shortens each exposed window.
VitriaBehind the curtains past the Film School locked door
Phases and counters
- A red ring marks invulnerability. Damage the tentacles rising from the floor until Vitria is exposed, then attack her. The four-way spread leaves the middle line safer; a direct grab can be escaped by rapidly pressing interact.
- When the mirror breaks, enter the red portal. Controls and menus are reversed inside. Collect ammunition and healing before attacking, then destroy the tentacles until the cycle sends Julia back.
- The pattern repeats three times and later cycles add more tentacles. Save shotgun shells for crowded waves; the Pipe can also sweep through several tentacles. Finishing the third mirror cycle awards the Iron key.
SanguisEscape hall after the ritual
Phases and counters
- Run east and bait Sanguis into lunging through the ordinary mannequins that block the route. Red mannequins do not break.
- Near the end, line up his pounce with the large retracting floor blade. This is a chase and positioning test, so spending ammunition does not solve the route.
Achievement route: For Bad Puppy, make Sanguis break every breakable mannequin before leaving the sequence.
CarnitosDesiderium, before the Tin Key
Phases and counters
- Keep open space around Julia and do not let the group surround her. Save near the encounter and enter with healing and ammunition because the room ends with the last Carnitos fight.
- After the fight, take the Tin Key from the wire and use it on the nearby chest to continue.
Achievement route: Butcheress requires clearing the encounter without taking damage. Valiant Little Taylor requires defeating three Carnitos with one hit; group them before committing that attack.
LacunaSéptimo Arte finale after sparing every Relicta
Phases and counters
- Fight with the Shotgun and Revolver; this route does not use the Aurifer. Keep moving whenever Lacuna vanishes because the returning slam can kill instantly.
- Her first pattern uses tendril swipes, a slam and fly swarms. The later pattern adds Julia copies, damaging trails and a fly beam. Preserve shotgun shells for the denser second pattern and attack after the slam or beam leaves a clear opening.
Achievement route: Acrophobia is awarded by letting Lacuna lift and drop Julia. Do it on a separate attempt from the clear.
HermesSéptimo Arte finale after killing at least one Relicta
Phases and counters
- Watch the runes and move away before the giant hands rise. The first pattern uses one hand; later patterns combine two or three and add summoned enemies.
- When the giant face appears, stay away from the inhale or the fight restarts. Avoid the red liquid, clear summoned enemies, then strike during the recovery after the inhale and finish with the Aurifer.
Achievement route: Devoured is awarded by being pulled into Hermes. Trigger it on a separate attempt from the clear.
AmyEnding 3 route behind the three-Iron-Cross door
Phases and counters
- Complete the three optional Bible encounters before their nearby ordinary puzzles, then place all three Iron Crosses in the third-floor wall.
- The opened route leads to Amy. Defeating this secret encounter completes VIVUS EX MORTIBUS.
Other named threats
Vorax
Self-destruct hazard
Leave through a room transition before it explodes. This also satisfies He Just Wanted a Hug; trying to trade damage at close range adds risk without helping the objective.
Relicta
Final-route ghosts
Once the Aurifer is complete, these ghosts flee and can be avoided. Spare every one for SOLVE ET COAGULA and Lacuna, or kill at least one for MAGNUM OPUS and Hermes. Killing all of them is the separate Heart of Lead challenge.
Continue exploring
Official game page · Andrés Borghi / Saibot Studios / New Blood Interactive